本記事では前回に引き続きRaiseTechの最終課題に奮闘する筆者の学習記録を書いています。
RaiseTechやプログラミング学習が気になっている方はぜひ参考にしてみてください。
[PR]筆者が受講しているスクールはこちら
RaiseTechではAWS・Java・副業・デザイン・マーケティングに特化したコースがあり現場レベルのカリキュラムを短期間で学習できるエンジニアリングスクールです。
カリキュラムの質の高さはもちろん各サポートの質も高いことが特徴の一つです。
前回までの進捗状況
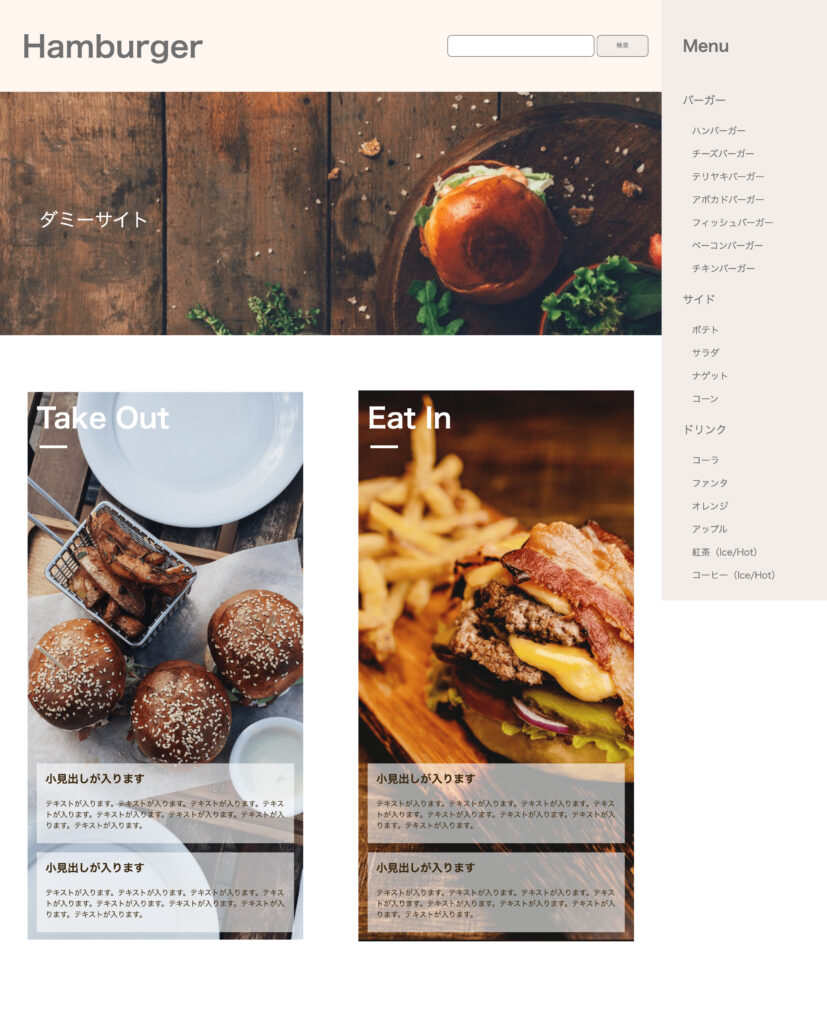
提供されたデザインカンプからコーディングをしています。ページは全部で5ページあり現在1ページ目のフロントページのコーディングに取り掛かっています。
残るはマップの設置とフッターの設置です。
それでは進めていきましょう。
Googleマップの埋め込み
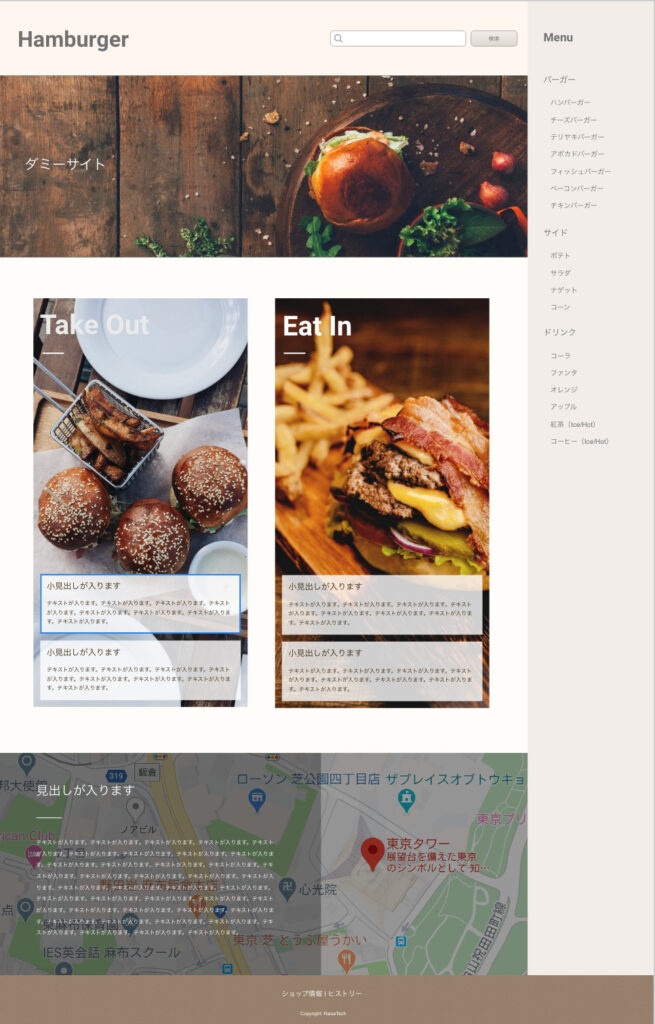
メイン部分1番下のGoogleMapが表示されているパーツです。
GoogleMapを挿入する方法について調べてみます。
GoogleMapの挿入方法
1. GoogleMapで挿入したい場所のピンをクリック
2. 出てきた画面左ブロック内の共有マークをクリック
3. 地図を埋め込む→HTMLをコピーの順にクリック
4. エディタに挿入し不要なコード部分を消す
以上で簡単に挿入することができました!
<div class="p-front__map">
 <iframe src="https://www.google.com/maps/embed?pb=!1m18!1m12!1m3!1d904.5428802981785!2d130.36010448131128!3d33.59582942938617!2m3!1f0!2f0!3f0!3m2!1i1024!2i768!4f13.1!3m3!1m2!1s0x3541924d04c53b73%3A0xc28cc19b818683e5!2z44Oi44K544OQ44O844Ks44O8IOemj-WyoVBheVBheeODieODvOODoOW6lw!5e0!3m2!1sja!2sjp!4v1614218912687!5m2!1sja!2sjp" width="100%" height="800px" style="border:0;" allowfullscreen="" loading="lazy"></iframe>
 <div class="c-layer1">
  <div class="c-layer2"></div>
 </div>
 <div class="p-front__map__section">
  <h3>見出しが入ります</h3>
  <p>テキストが入ります。テキストが入ります。テキストが入ります。テキストが入ります。テキストが入ります。テキストが入ります。テキストが入ります。テキストが入ります。テキストが入ります。テキストが入ります。テキストが入ります。テキストが入ります。テキストが入ります。テキストが入ります。テキストが入ります。テキストが入ります。テキストが入ります。テキストが入ります。テキストが入ります。テキストが入ります。テキストが入ります。テキストが入ります。テキストが入ります。テキストが入ります。テキストが入ります。テキストが入ります。テキストが入ります。テキストが入ります。テキストが入ります。テキストが入ります。テキストが入ります。</p>
 </div>
</div>
.p-front{
&__map{
width: 100%;
height: 650px;
position: relative;
overflow: hidden;
iframe{
position: absolute;
top: -130px;
}
&__section{
width: 50%;
position: absolute;
top: 0;
z-index: 15;
padding: 90px 0 0 119px;
h3{
color: #fff;
font-size: 36px;
font-weight: normal;
&::after{
position: absolute;
content: "";
width: 90px;
height: 3px;
background-color: #fff;
top: 200px;
left: 119px;
}
}
p{
padding-top: 127px;
color: #fff;
line-height: 1.8;
font-size: 16px;
}
}
}
}.c-layer1{
position: absolute;
top: 0;
width: 100%;
height: 100%;
background-color: rgba(#000000, 0.3);
z-index: 10;
}
.c-layer2{
position: absolute;
top: 0;
width: 55%;
height: 100%;
background-color: rgba(#000, 0.4);
z-index: 5;
}正しいかどうかは分かりませんがとにかくposition: relativeと子要素にposition:absoluteで重ねて重ねて…を繰り返しています。
またレイヤーを重ねているところはz-indexを指定します。
フロント側はこのような感じになりました。
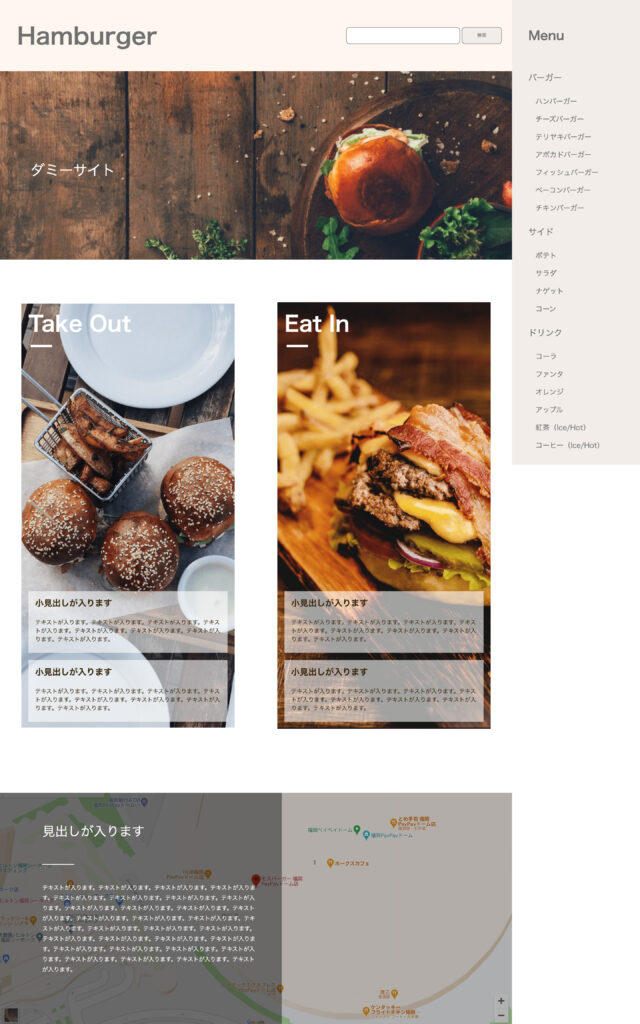
いい感じです。ちなみにmapの場所は福岡PayPayドーム内のモスバーガーです笑
それでは最後のフッター部分を作ってしまいましょう!
フッターのコーディング
<footer class="l-footer">
 <div class="l-footer__section">
  <a href="#">ショップ情報</a>
  <a href="#">ヒストリー</a>
 </div>
 <p> Copyright : RaiseTech</p>
</footer>
.l-footer{
width: 100%;
height: 150px;
background-color: #9D8670;
display: flex;
align-items: center;
flex-direction: column;
&__section{
padding-top: 43px;
a{
color: #fff;
font-size: 20px;
padding: 43px 10px;
&:last-of-type{
position: relative;
&::before{
position: absolute;
left: -3px;
content: "";
background-color: #fff;
width: 2px;
height: 20px;
}
}
}
}
p{
color: #fff;
padding-top: 39px;
font-size: 14px;
}
}.l-contents{
display: flex;
&__left{
width: 80%;
height: 100%;
}
&__right{
width: 20%;
background-color: #F2EDE9;
height: 2880px; //修正
}
}最後にサイドバーの高さを右側と同じに揃えて完成です。
フロント側はこちら。
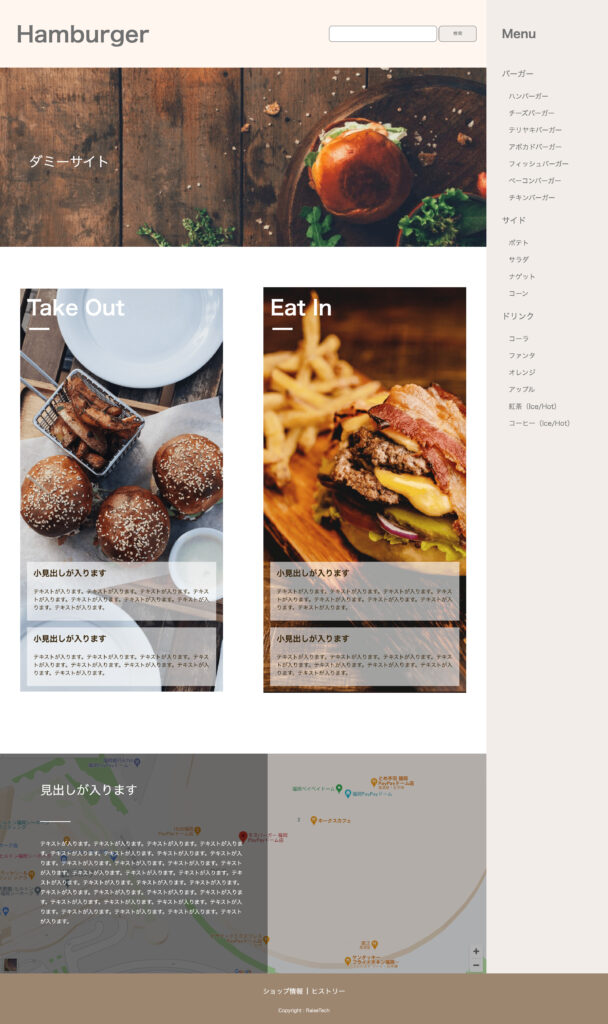
良い感じに出来上がりました!
最後に
2ページ目まで取り掛かりたかったのですが本日はここまで…。残りのページはこのページよりも作るパーツは多くないのでサクッと作りたいですね。
最後までお読みいただきありがとうございました。
次回もまた読んでいただけたら嬉しいです。



コメント